
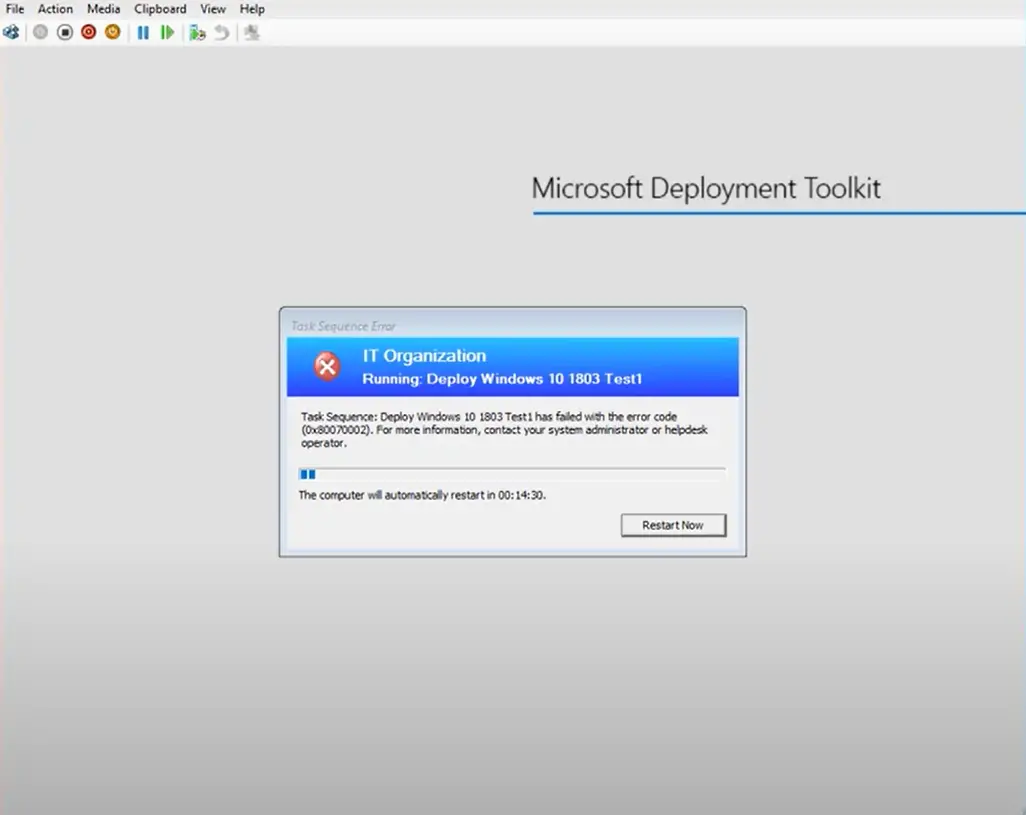
Today when re-imaging a HP laptop the task sequence failed and displayed the error 0x80070490. The error 0x80070490 means can not find the local storage device.
Looking in the smsts.log I saw the root cause was related to “Unable to find a volume that is suitable for staging the boot image” This is usually caused by one of the following issues
- C:\ Volume is on a GPT disk
- Storage Driver Missing From Boot Image
- BIOS controller set to AHCI
The most common cause is because the local disk needs reformatting, Below I will show you how to do this manually and also how to add it in to the task sequence to do automatically every time the task sequence runs.
Review SMSTS.log
The first thing we need to do is review the smsts.log file to find out what the root cause is for the error “0x80070490”

To review the smsts.log file do the following
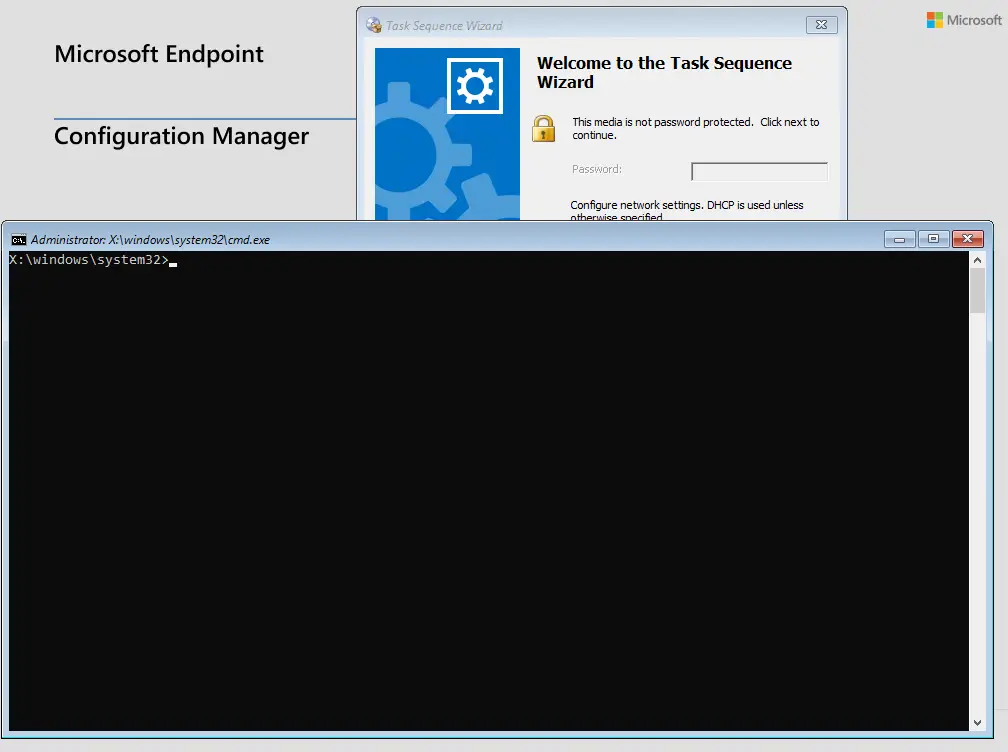
- Start the sccm task sequence on the machine that is getting the error
- Press F8 to bring up the command prompt

- Run the task sequence until it fails, the task sequence will not exit because we have opened the command prompt

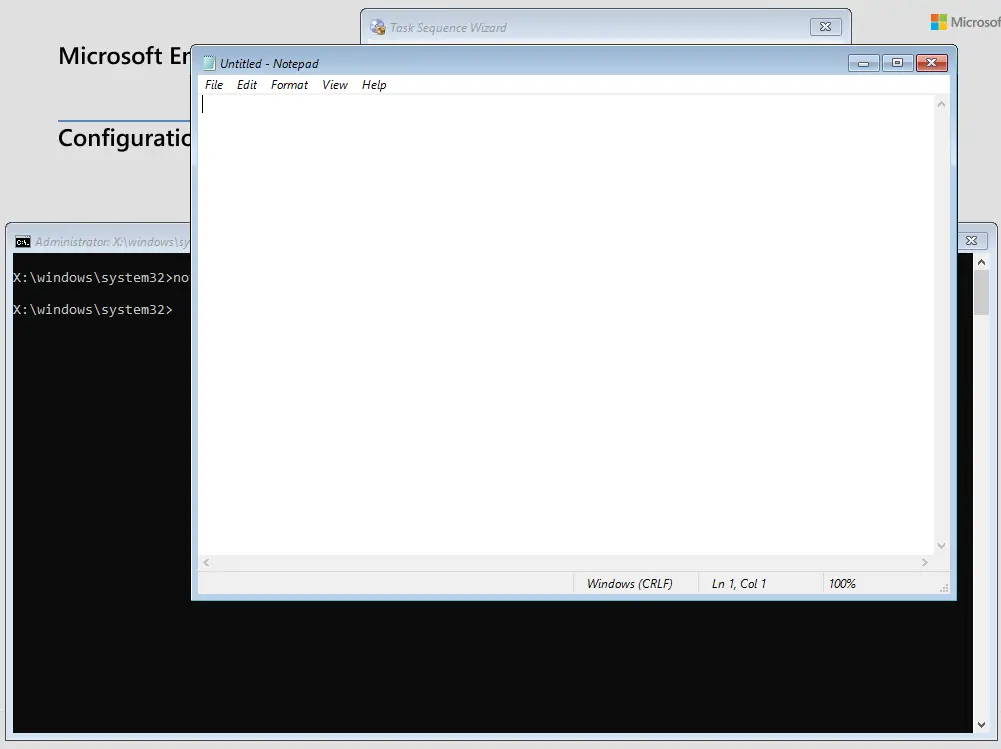
- In the command prompt type in notepad and hit enter

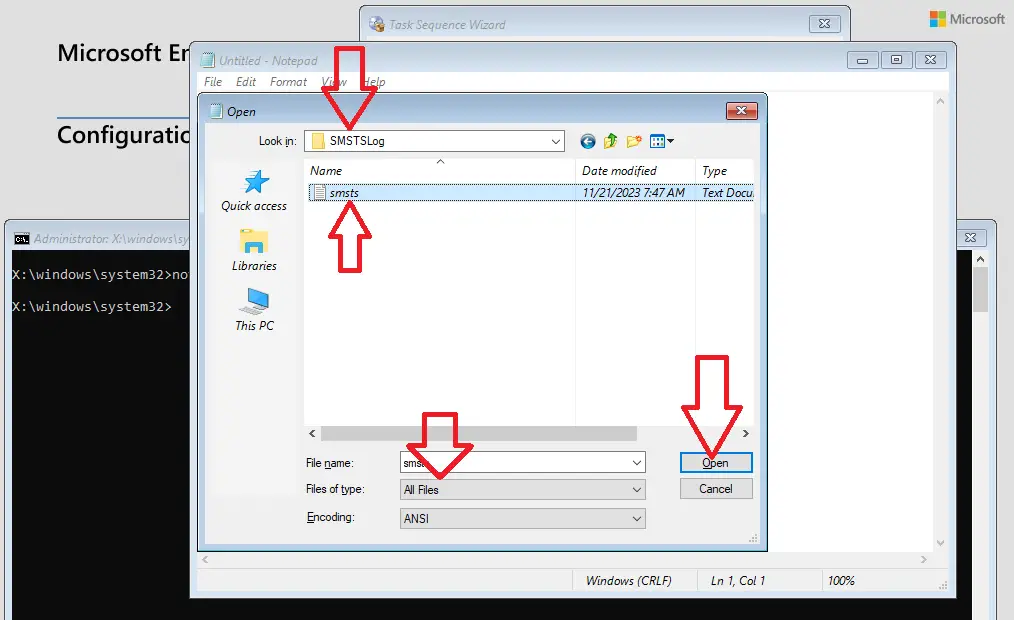
- In notepad hit file > open > select type of files (All Files)
- go to X:\Windows\Temp\SMSLog\
- Open SMSTS.log

- Take a look at the last few lines as this will highlight what is causing the error

- Above it is clear the issue is being caused because the task sequence can not find a fixed disk
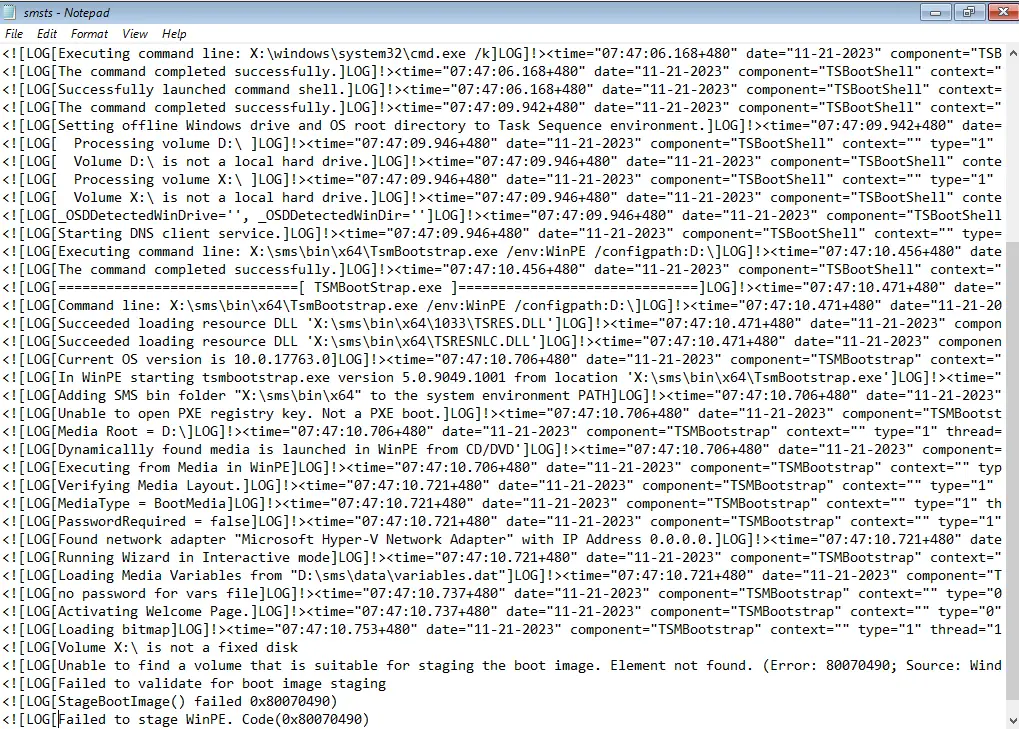
You might also see the below errors in the smsts.log file
- Volume D: is not a fixed disk
- Volume X:\ is not a fixed disk
- Volume C: is on a GPT disk, but the system is MBR
- Unable to find a volume that is suitable for staging the boot image. Element not found. (Error: 80070490; Source: Windows)
- Unable to find a partition on the system disk that can be set as active
- Failed to prepare the system partition for staging, Element not found. (Error 80070490; Source Windows)
- Failed to validate for boot image staging
- StageBootImage() failed 0x80070490)
- Failed to stage WinPE. Code(0x80070490)
Now we know what is causing the error we can work on a solution.
How To Fix SCCM Task Sequence Error 0x80070490
There are many fixes for the task sequence error 0x80070490, the most likely fix is re-formatting the local storage drive which I will show you how to do first.
WARNING : This step will wipe all data from the local storage device.
1. Format The Local Storage Device With DiskPart
To format the local storage device manually follow these steps
- Start the sccm task sequence on the machine that is getting the error
- Press F8 to bring up the command prompt
- Before you start the task sequence type in the following to format your local storage drives
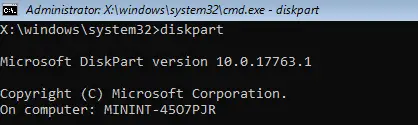
- Diskpart (This will load the diskpart application)

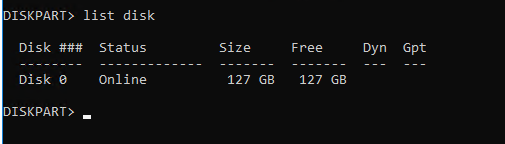
- List disk (we can see below my disk id is 0, if no disks are listed here then you need to inject the storage driver in to the boot image which I will cover below)

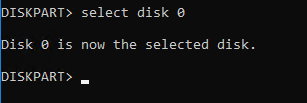
- Select disk 0 (To select the local storage disk)

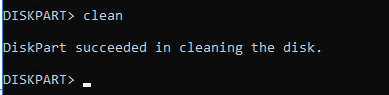
- Clean (Formats the disk)

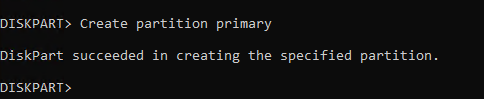
- Create partition primary (Creates the partition)

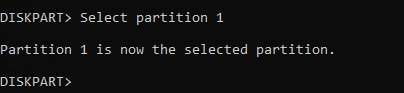
- Select partition 1 (Selects the partition)

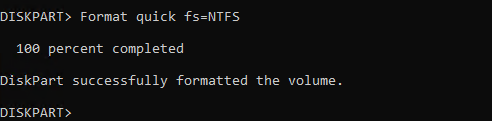
- Format quick fs=NTFS (Formats drive with NTFS filesystem)

- Assign letter C (Assigns the drive to letter C)

- Exit
- Now restart the machine and try to run the task sequence again

2. Format Disks In Task Sequence
In the previous step we used Diskpart to manually delete, create and then format the local storage device.
What we can do is automate this task and put it in the task sequence as a step that always gets run. This way we know we will not get the error 0x80070490.
I add this step in to all my task sequences as in my experiences it helps to reduce task sequence failures.
To add disk part in to your task sequence do the following steps.
- First we need to create a package in SCCM
- Create a folder on your SCCM server where the package files will be put (On my server I will use D:\SCCM Packages\Packages\Diskpart)
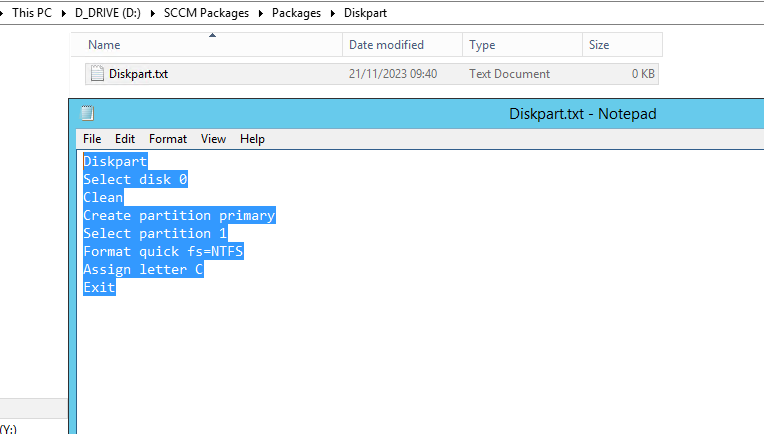
- Create a diskpart.txt file
- Put the following lines in to the file
Diskpart
Select disk 0
Clean
Create partition primary
Select partition 1
Format quick fs=NTFS
Assign letter C
Exit 
- Save the file
- Open the SCCM console
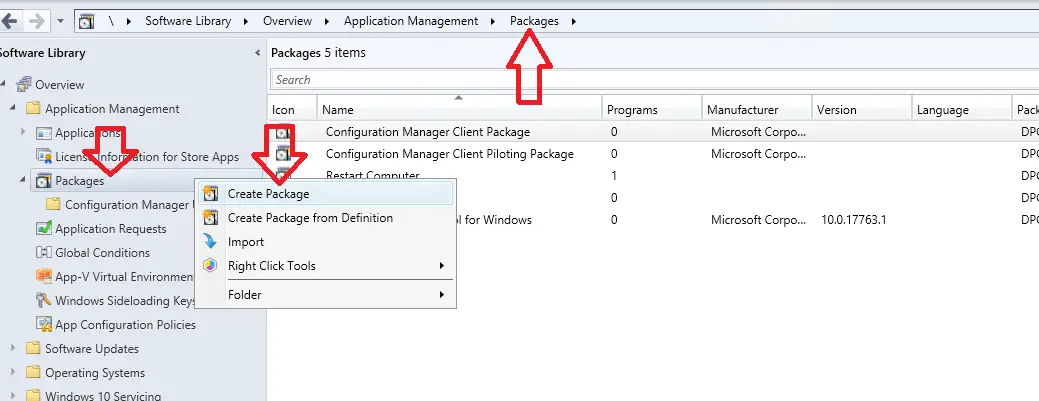
- go to \Software Library\Overview\Application Management\Packages
- Right click on packages, Select create package

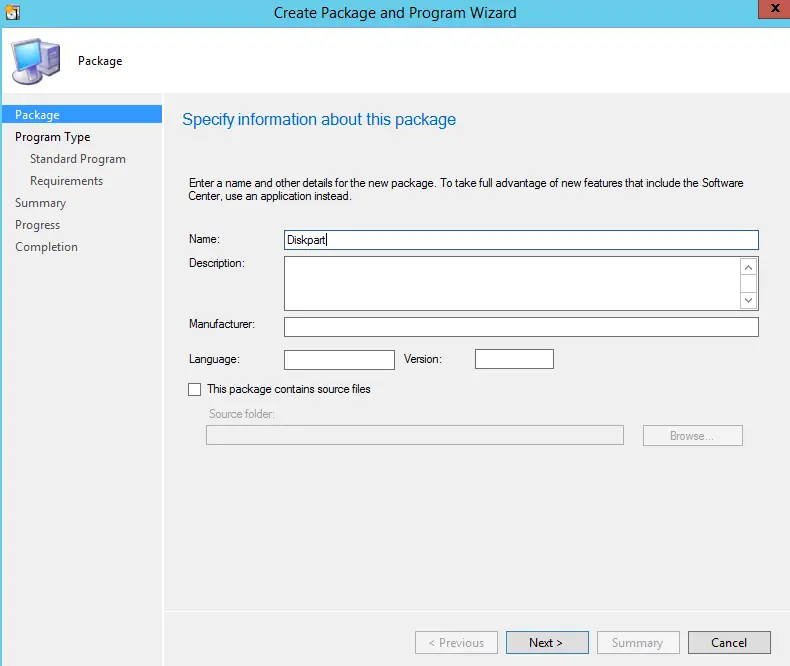
- Enter a name for the package
- Click next

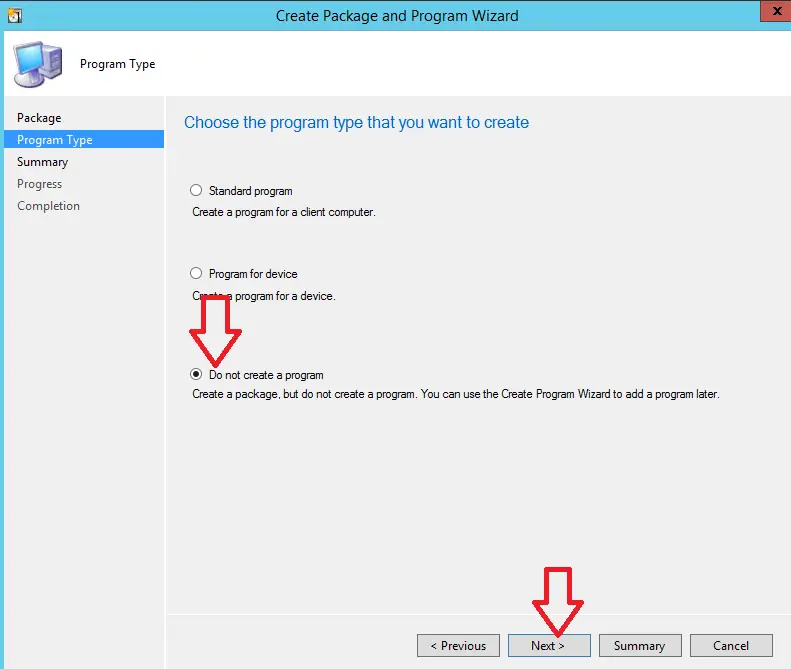
- Select “Do not create a program”
- Click next

- Click next
- Click close
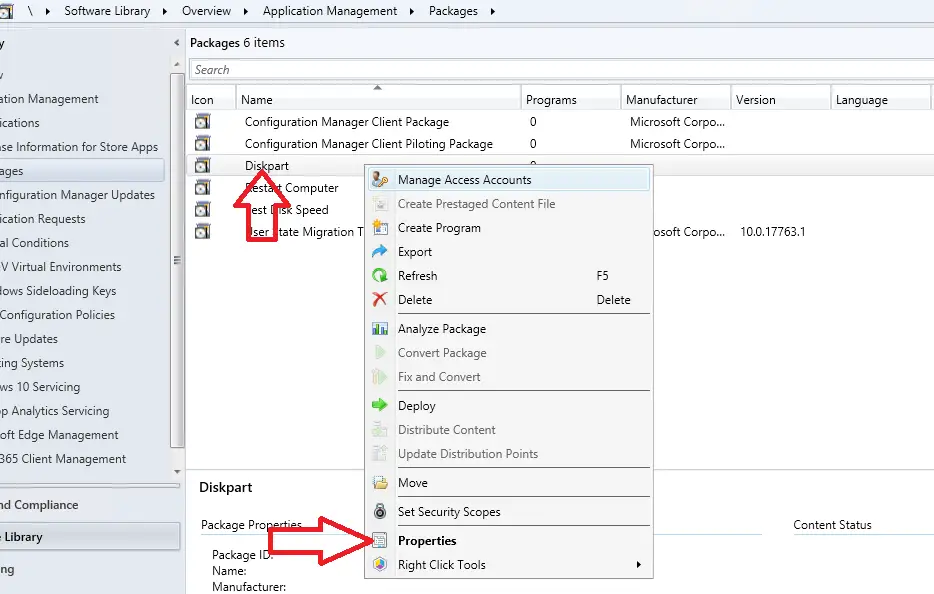
- Right click on the package we just created and select properties

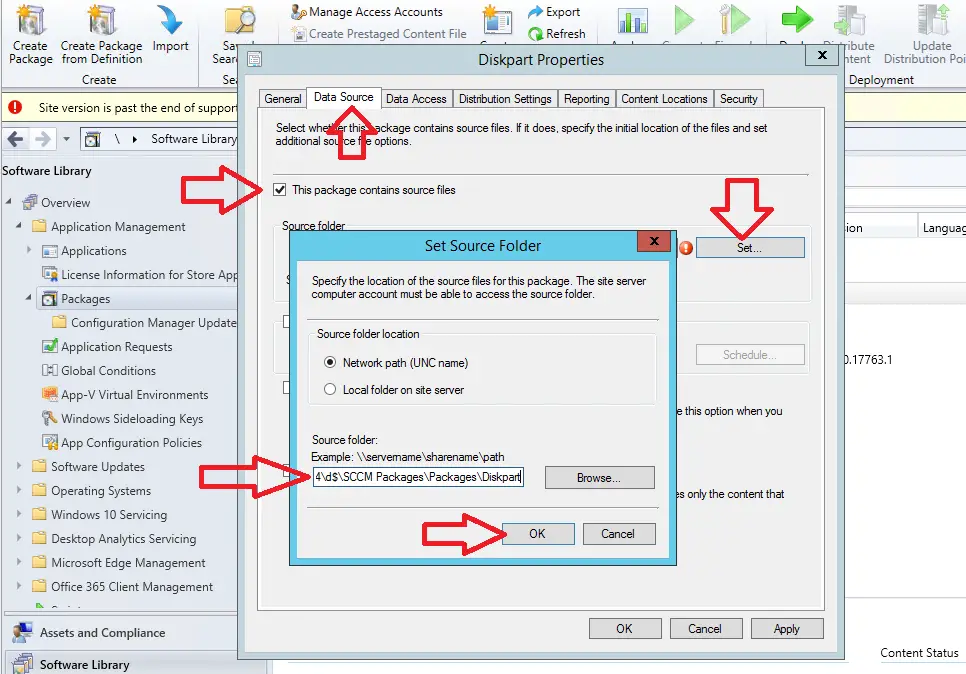
- Click the data source tab
- Click set
- Select Network path UNC name
- Enter the UNC path to the folder
- Click ok

- Click ok
- Right click on the package and select distribute package and follow the prompts
- In the SCCM console go to \Software Library\Overview\Operating Systems\Task Sequences
- Edit the task sequence you want to put the diskpart step in to
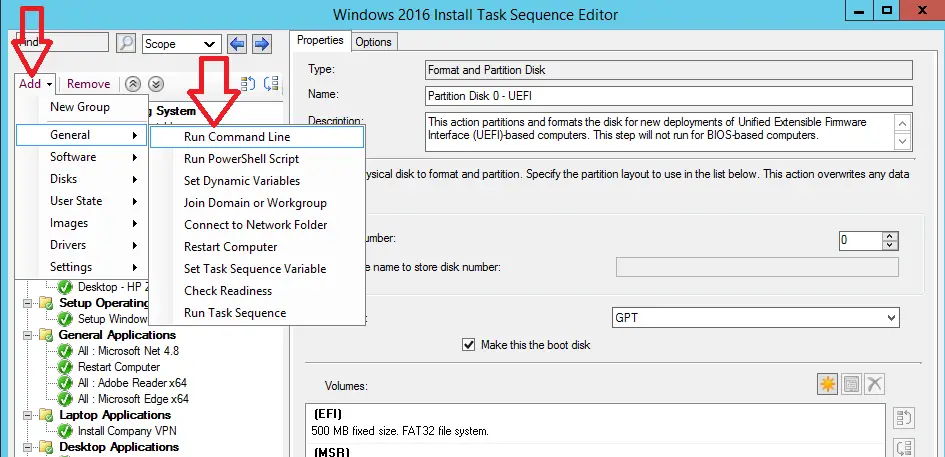
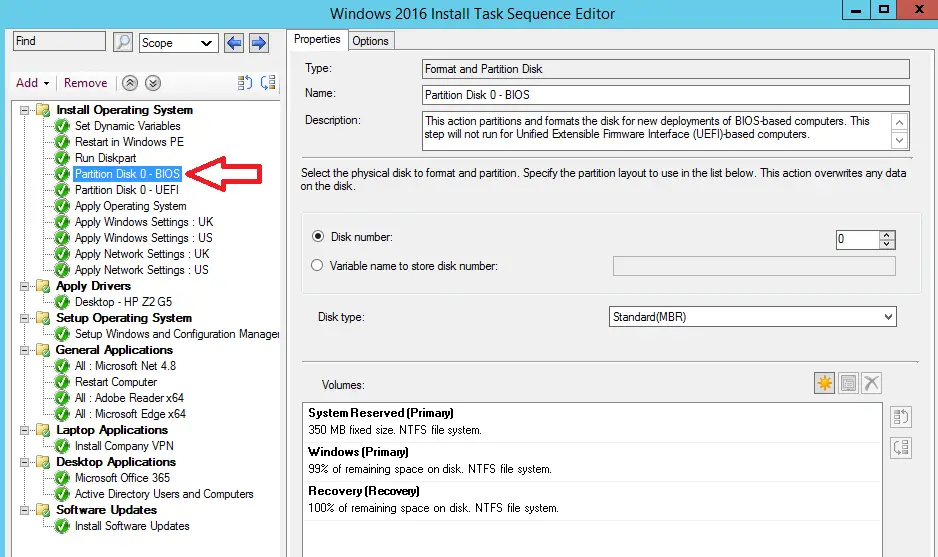
- Click add > General > Run Command Line

- Name the step something like “Run Diskpart”
- Move it to run just before “Partition Disk 0 – BIOS”
- Tick the Package box, select browse and select the package we created
- In the command line enter “cmd.exe /c diskpart.exe /s diskpart.txt”

- I recommend you click on the options tab and tick the box “Continue on error”
- Click ok to exit the task sequence
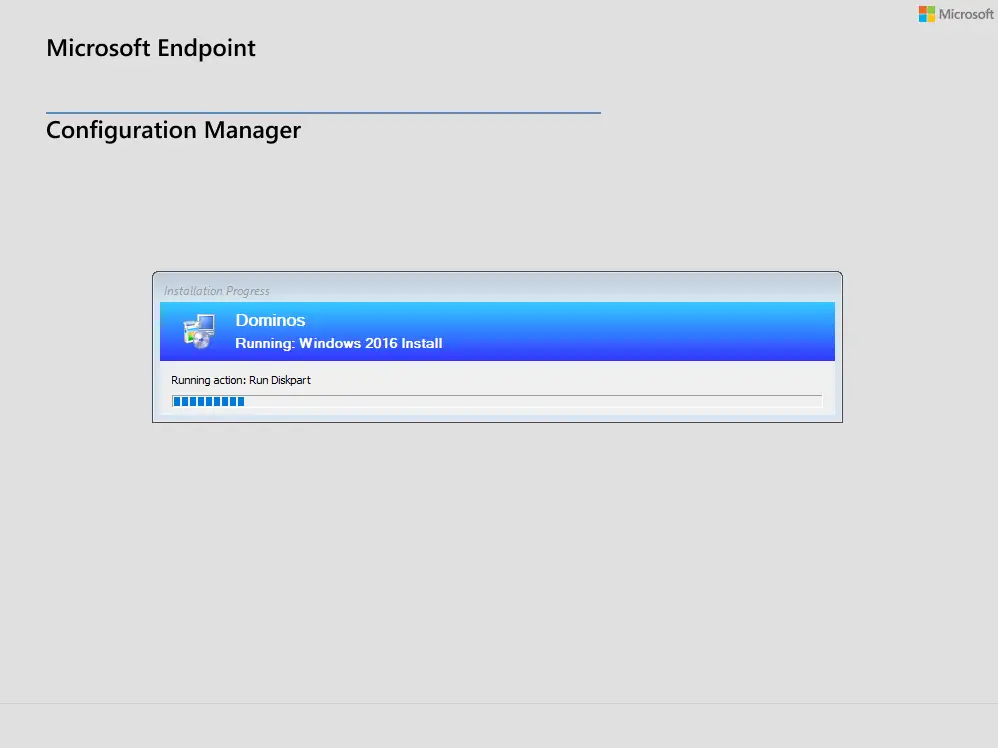
- Now try to build another machine with the task sequence
- You should now see the task sequence run the diskpart step we just added


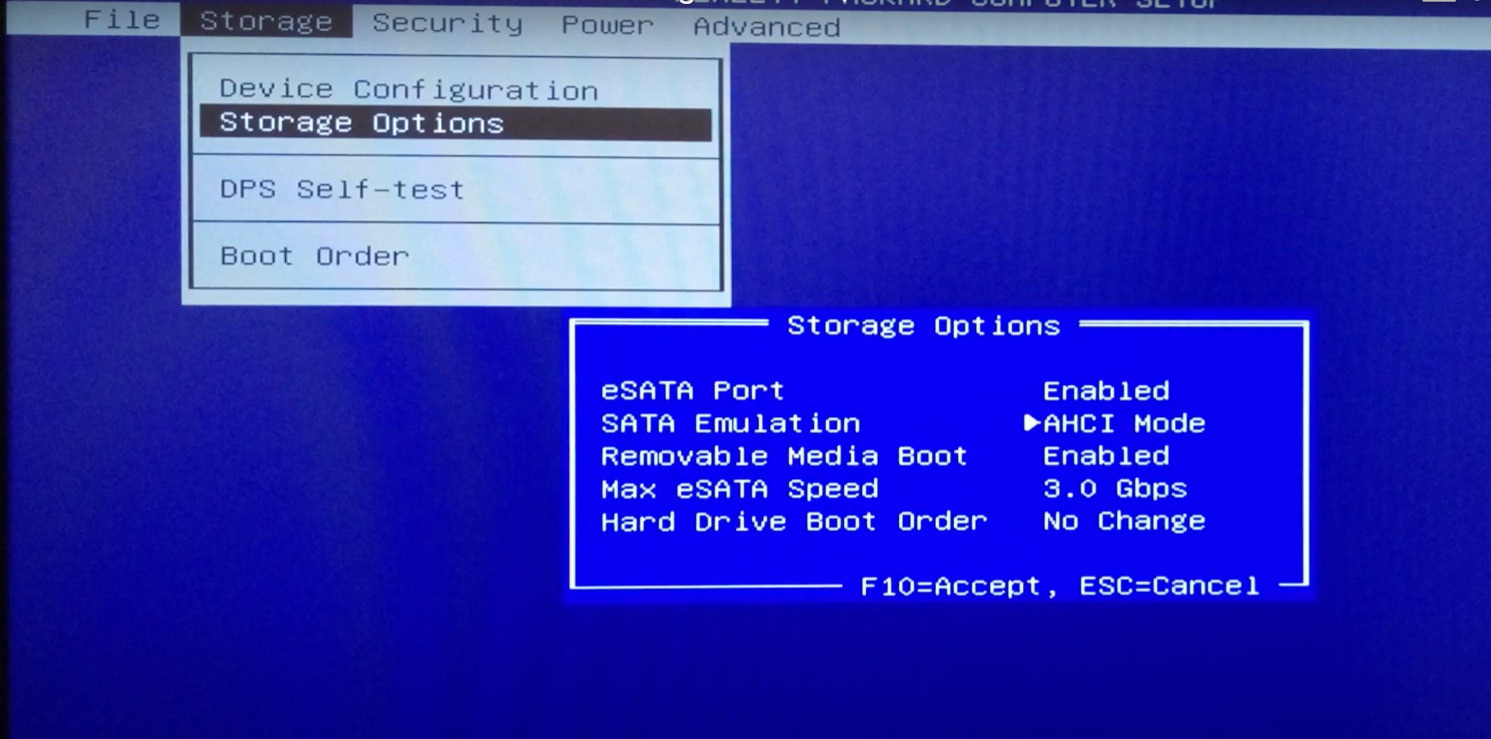
3. BIOS Storage Controller set to AHCI
For some machines to build correctly the controller in the BIOS needs to be set to AHCI, this is because if UEFI is set then the task sequence will run the step “Partition Disk 0 UEFI” which will format local storage incorrectly.
To set AHCI in your bios follow these steps
- Turn on your machine and go in to the BIOS
- Select Storage > Storage Options
- Make sure Sata Emulation is set to “AHCI Mode”

- Save the settings
- Restart the SCCM task sequence
4. Inject Storage Driver In To SCCM Boot Image
If all other steps have failed then we need to add the storage driver in to the boot image.
The first thing we are going to do is download the latest WinPE drivers and inject them in to the boot image, and if that doesnt work we will then have to inject the specific driver in to the boot image.
Download the latest Windows PE drivers for your hardware model
Then perform these steps
- Insert the downloaded drivers in to SCCM. Take a look at this article I wrote on adding drivers to SCCM
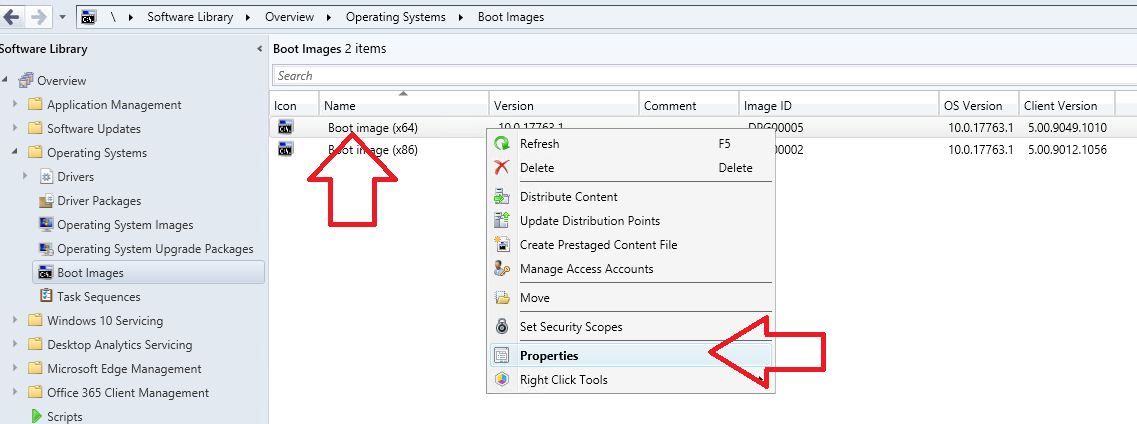
- Open the SCCM Console
- Go to \Software Library\Overview\Operating Systems\Boot Images
- Right click on “Boot image (x64)” and select properties

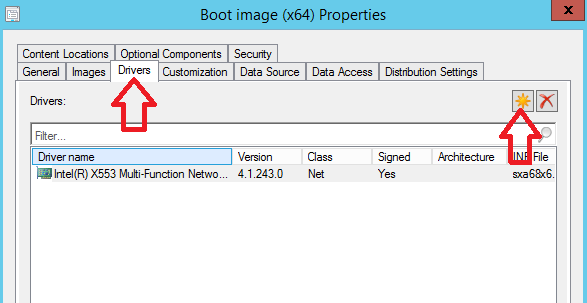
- Click the drivers tab
- Click the sun icon

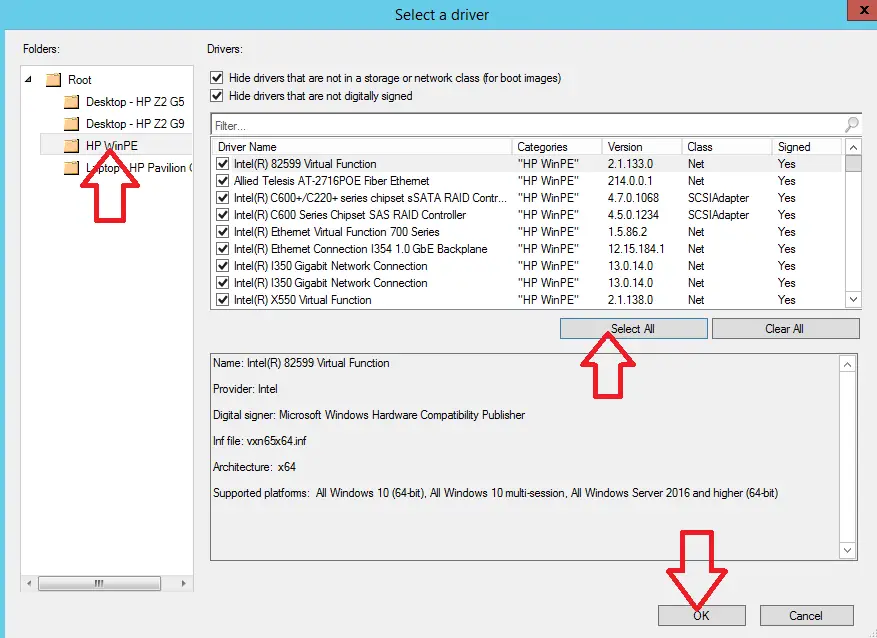
- Select the WinPE folder
- Click select all
- Click ok

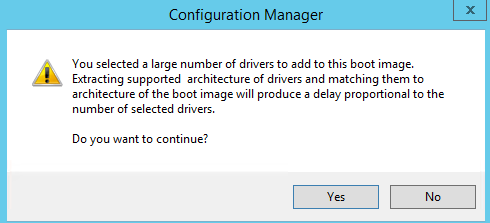
- Click yes to confirm adding drivers

- Click ok
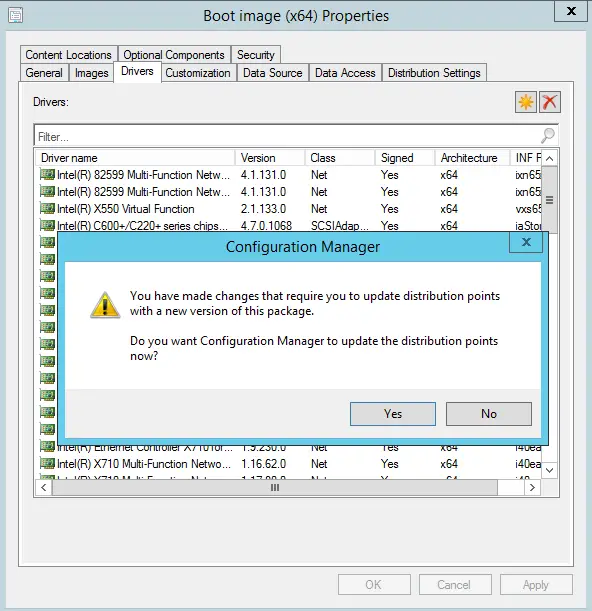
- Click yes to distribute the boot image with the new drivers

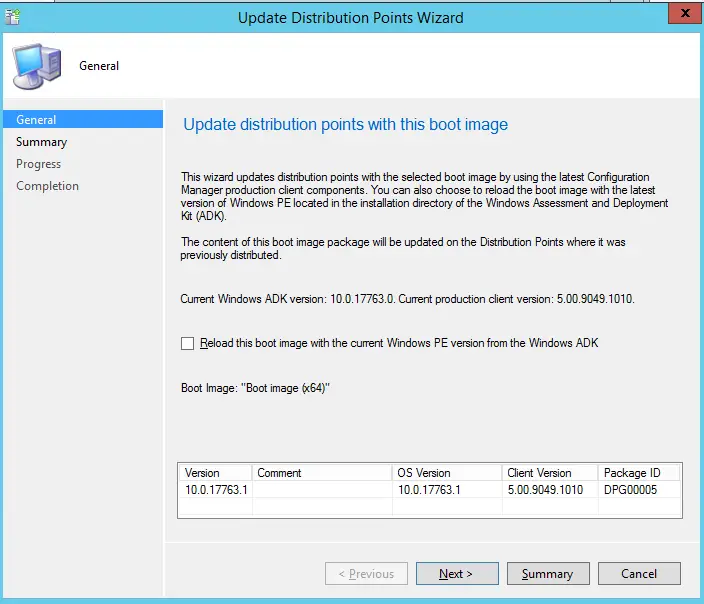
- On the update distribution points with this boot image click next

- Click next, this step can take a few minutes
- Click close
- Try the task sequence again
- If the task sequence fails again with the error 0x80070490 download the drivers for that specific hardware model
- Add the drivers to SCCM
- Then repeat steps 2-16 adding the hardware specific driver
Conclusion
You will see the error 0x80070490 whilst running a SCCM task sequence and the task sequence will fail on the format step because it can not locate a local storage device or the partitions on the storage device are formatted in a way the task sequence can not process.
In this guide I have gone through three methods I used to wipe the drive and format in a way that the task sequence can handle and not fail at the formatting step.
The error can also be caused by a storage driver issue which I have shown how to add the driver in to the boot image.
If you have any further fixes I have not included in this article please let me know about them by posting in a comment below or in one of my online communities.