In this article I will show you step by step how to import drivers in to SCCM and how to create a driver package that can be used in a task sequence.
I have done this process for many clients and I will be sharing all the top tips I have learned the way.
Importing drivers and creating driver packages can get very messy in large sccm environments, so it is very important to set things up correctly from day 1 by using device categories.
Lets get started

1 : Download Device Drivers
The first thing we need to do is download device drivers. Many years ago it was so hard to find the correct driver and it took a lot of testing to get the correct driver.
These days its made easier for us as many company’s now offer special SCCM driver packages that you can download and import in to SCCM, Links below.
In this article I am going to use the HP Z2 G5 Desktop driver. To download the drivers you are going to import in to sccm follow these steps
-
- Locate and download the driver for your system using one of the links above.
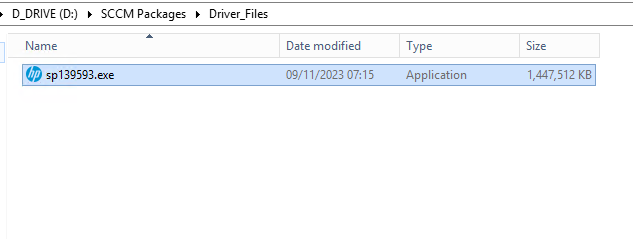
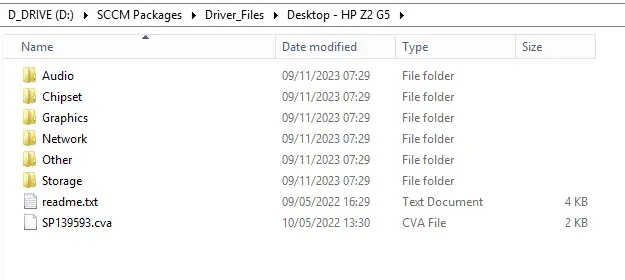
- Create a folder on your SCCM server that we will copy the drivers to. Below I have created D:\Sccm Packages\Driver_Files

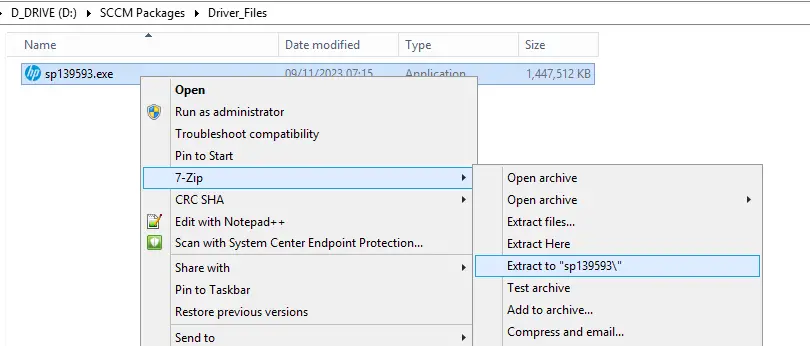
- Extract the file that you downloaded, Below I used 7-zip

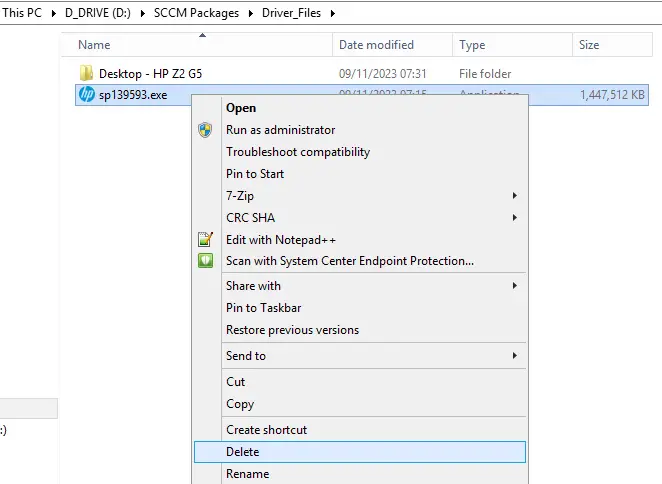
- Rename the folder to something descriptive. I recommend to use a naming convention such as (Desktop/Laptop – Manufacturer Model Generation)
By using a good descriptive naming convention it will make it easier for you in the future if you add many different device drivers for models in to SCCM
- Delete the compressed driver file we downloaded.

- Now go in to the folder and make sure it looks like below. You can see the different drivers that are in this download.


2 : Import Drivers In SCCM Console
Now we have downloaded the drivers the next step is to add them to the SCCM console.
I am going to show you how to use driver categories to organise your drivers as I have found this the best way to organise drivers.
To import drivers in to the SCCM console follow these steps
- Open the SCCM Console
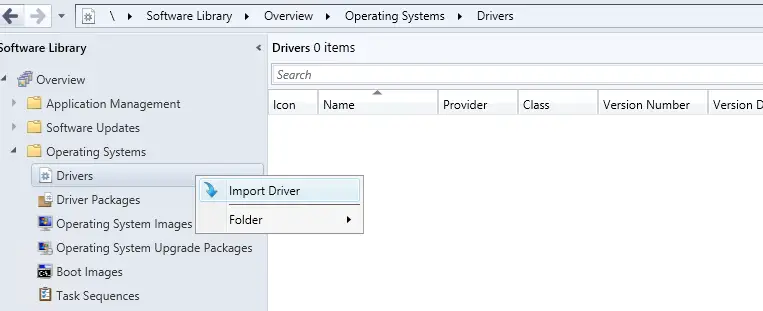
- Go to \Software Library\Overview\Operating Systems\Drivers
- Right click on drivers and select “Import Driver”

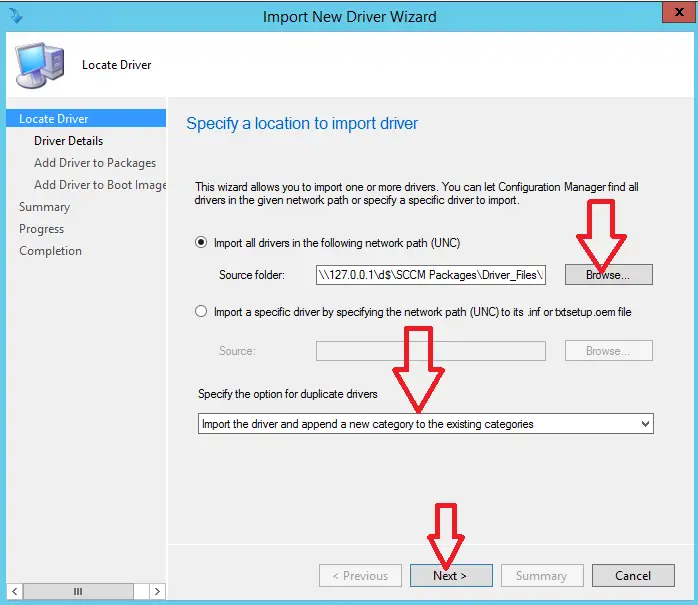
- Click browse and enter the path to the folder where we downloaded the driver to. Note you need to enter a unc path here, I have simply put \\127.0.0.1\d$
- Make sure “Import the driver and append a new category to the existing categories” is selected
- Click Next

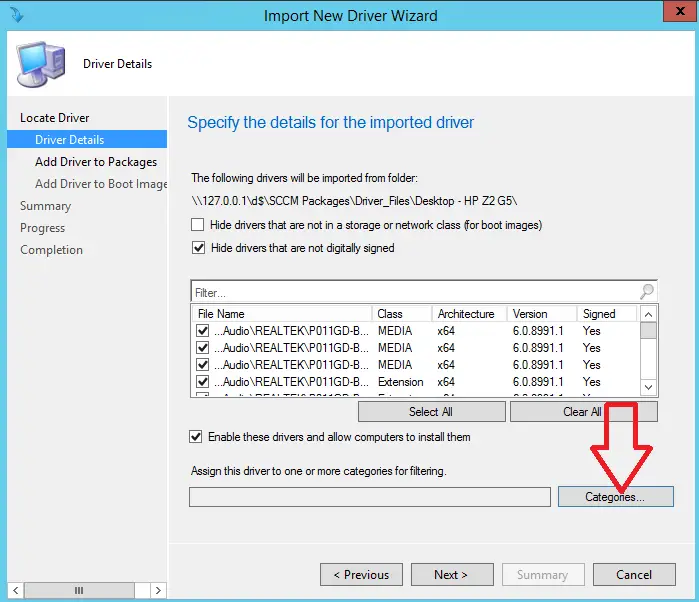
- The drivers will now start to be imported and validated, this can take a few minutes
If you want to see the progress of the import you can by viewing the DriverCatalog.log file which is usually located at C:\Program Files\Microsoft Configuration Manager\Logs
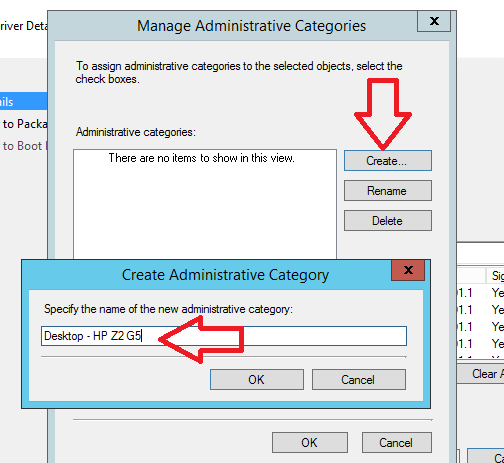
- Click the categories button

- Click Create
- Enter a descriptive name, I recommend we use the same naming convention we used in the previous step (Desktop/Laptop – Manufacturer Model Generation)

- Click ok
- Click ok
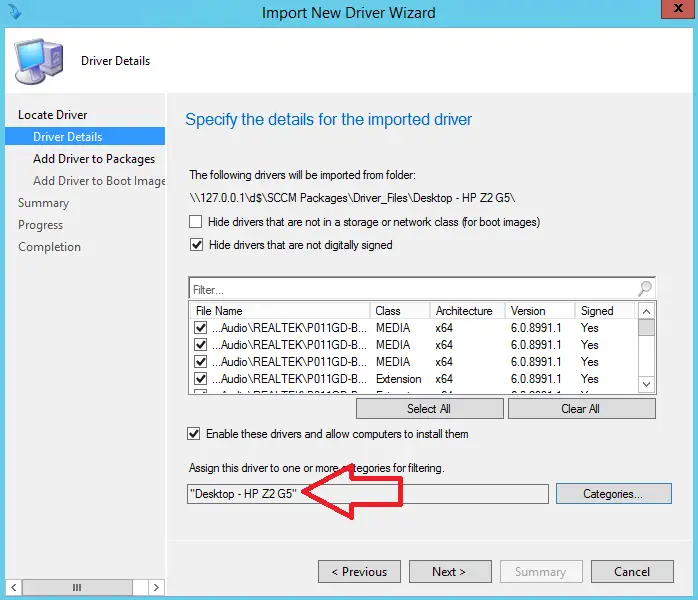
- Confirm the category you just created shows under “Assign this driver to one or more categories for filtering

- Click Next
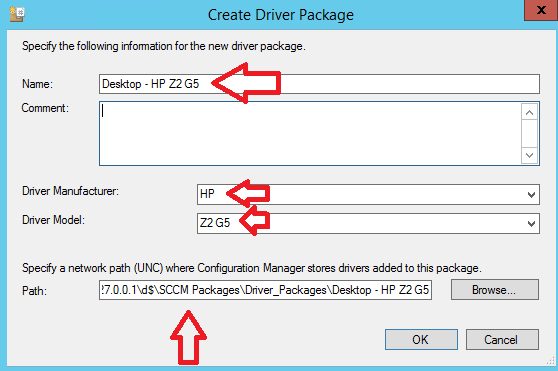
- Click New Package
- Give the driver package a good descriptive name, again I recommend to use the same naming convention
- Enter the device Manufacturer
- Enter the device Model
- Specify a unc path where SCCM will store the driver files for the driver package. I recommend to create a new folder for this, Below I created Driver_Packages then in this folder create another folder using the name from the naming convention we are using

- Click ok
- Click next
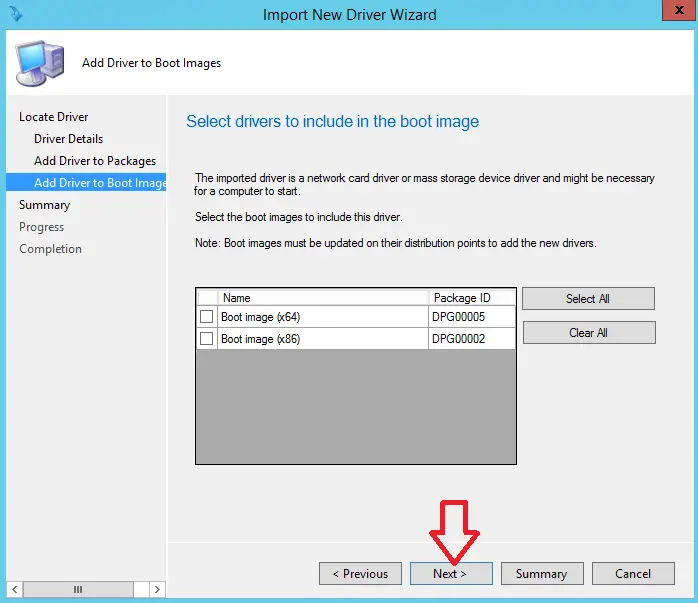
- Do not select any boot images to inject drivers in to
- Click next

In my experience it is very important not to inject drivers in to the boot image unless the machine you are trying to pxe boot to requires it.
When adding drivers for a new hardware model test if you can pxe boot and if it fails only then add only the network driver to the boot image.
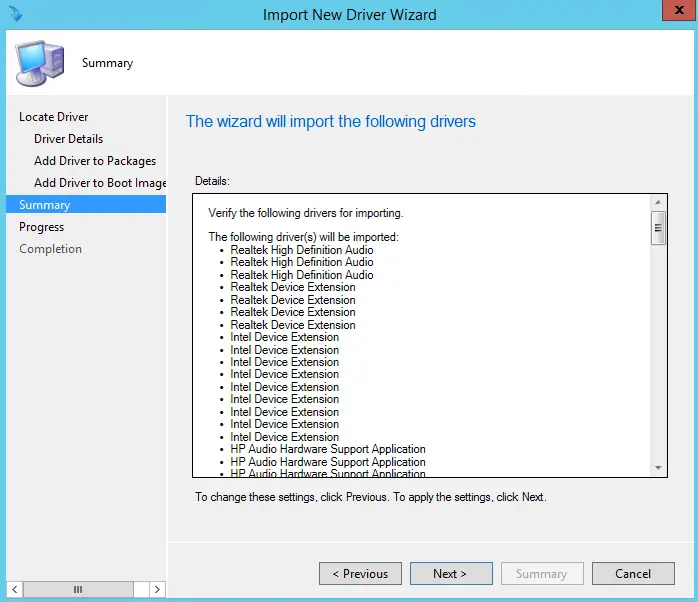
- The next page will list all of the drivers that will be imported in to the driver package
- Click next

- SCCM will now import all the drivers and create a driver package, I expect this step to take a few minutes
- Click close when the import has finished
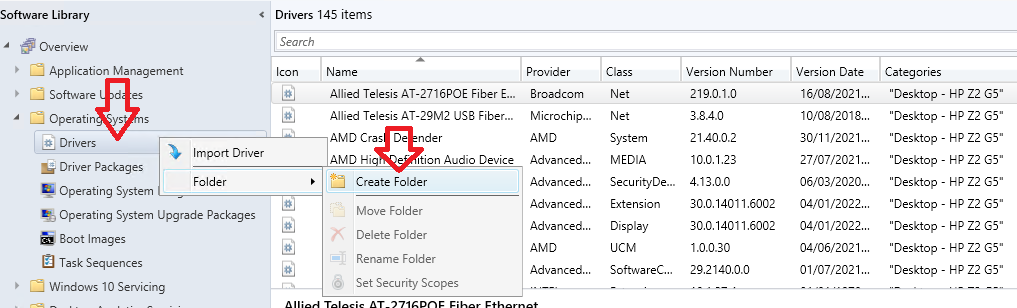
- In the SCCM console go to \Software Library\Overview\Operating Systems\Drivers
- Right click on Drivers, Select folder then Create Folder

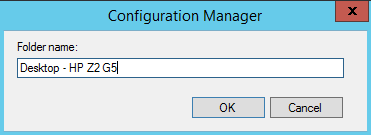
- Name your folder the same name we used in our naming convention
- Click Ok

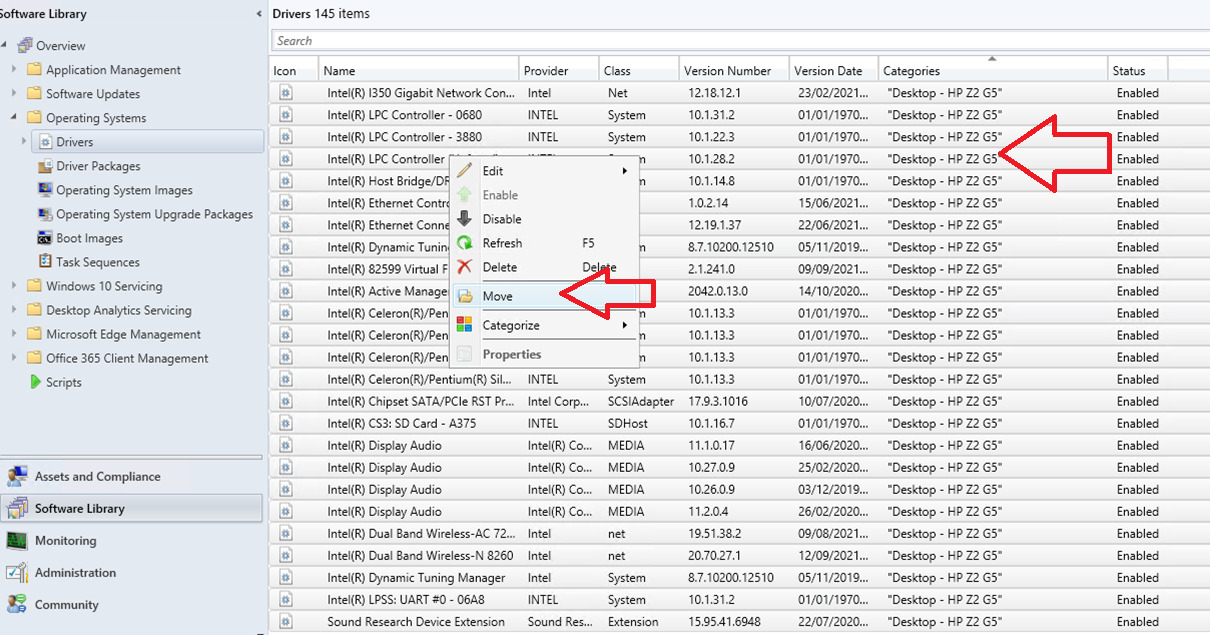
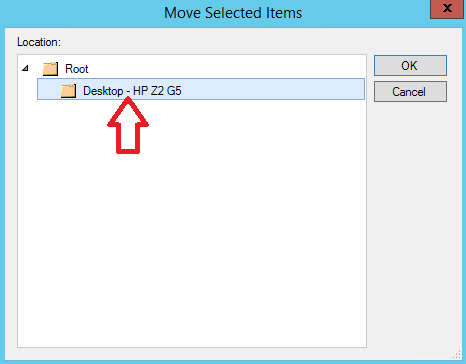
- Highlight all of the drivers for the hardware you are adding, then right click and select move

- Select the folder we created for this device model
- Click ok

- Under drivers you can now click on the folder and see what drivers are in there

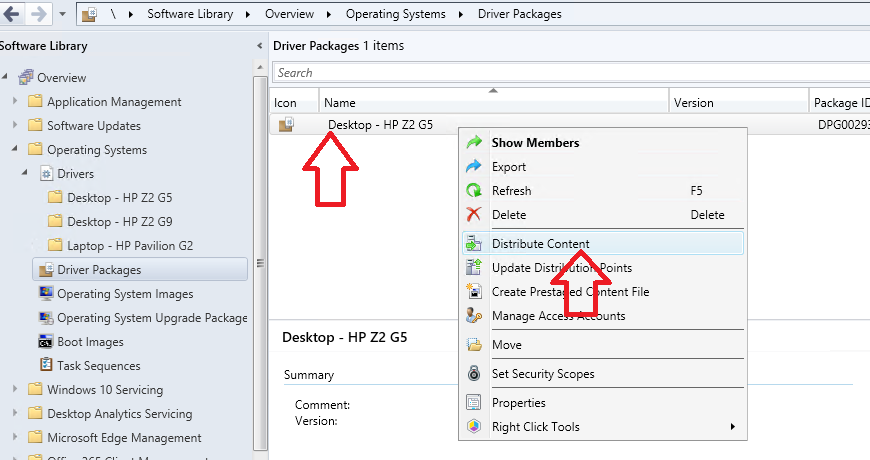
- In the SCCM console go to \Software Library\Overview\Operating Systems\Driver Packages
- Right click on the driver package and select distribute content
 Click next
- Click Add and add distributions points
- Click next
- Click close
- Wait a few minutes and refresh the page and confirm the driver package was successfully distributed


 Click next
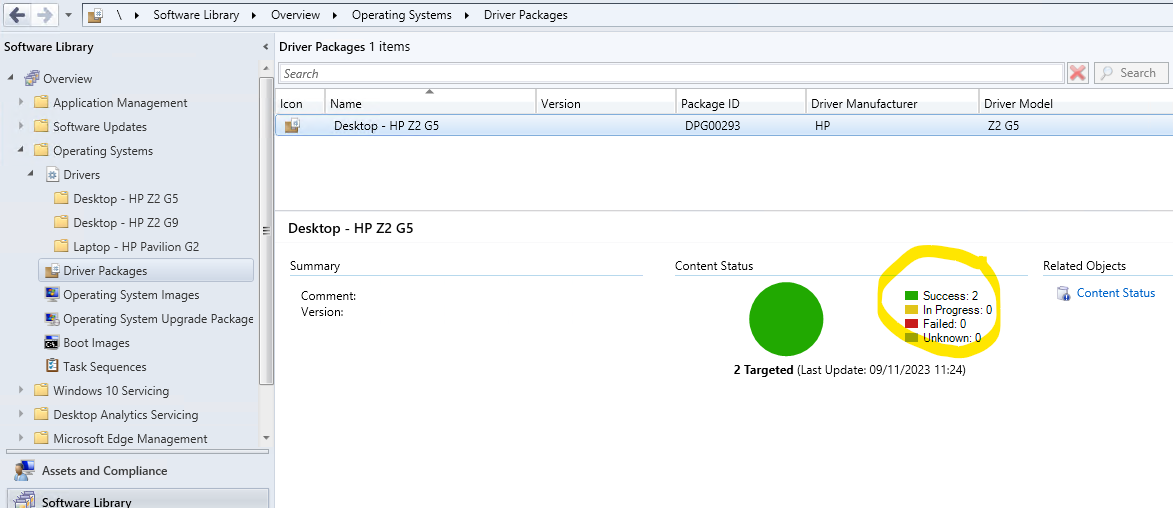
3 : Add Drivers In To SCCM Task Sequence
Now we need to add these drivers in to our task sequence so they can get installed when we are building machines.
For a detailed guide on this step take a look at this article I wrote : How Add Drivers To SCCM Task Sequence
4 : How To Add Driver In To SCCM Boot Image
Sometimes you need to add device drivers in to the SCCM boot image in order to be able to boot in to WinPE.
In my experience I have only had to inject network and hard-drive drivers in order for WinPE to recognise the network card or hard drive.
Injecting drivers is always the last thing I want to do as it is best practice to keep the SCCM boot image as vanilla as possible.
If you do need to add a driver in to the SCCM boot image follow these steps
- Open the SCCM console
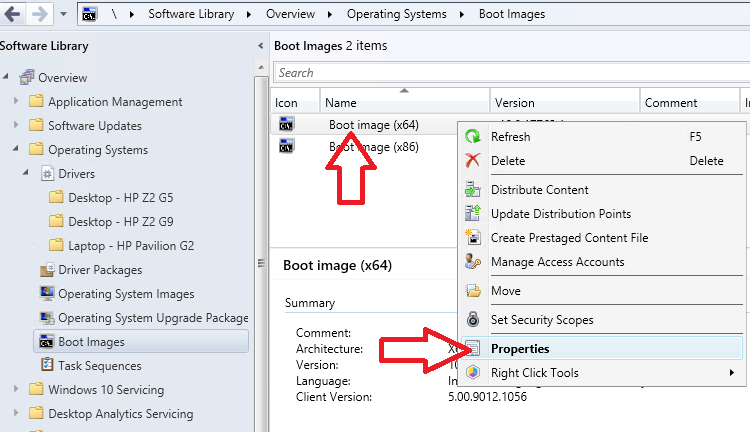
- go to \Software Library\Overview\Operating Systems\Boot Images
- Right click on “Boot image (x64)”
- Click properties

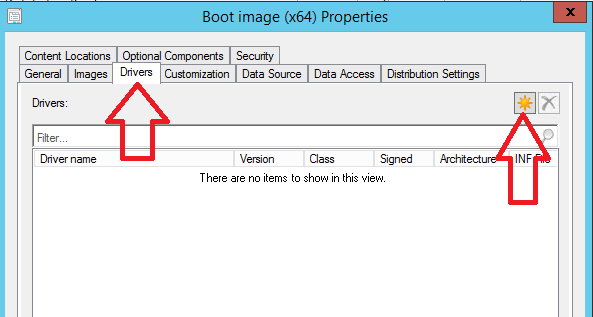
- Click the drivers tab
- Click the sun icon

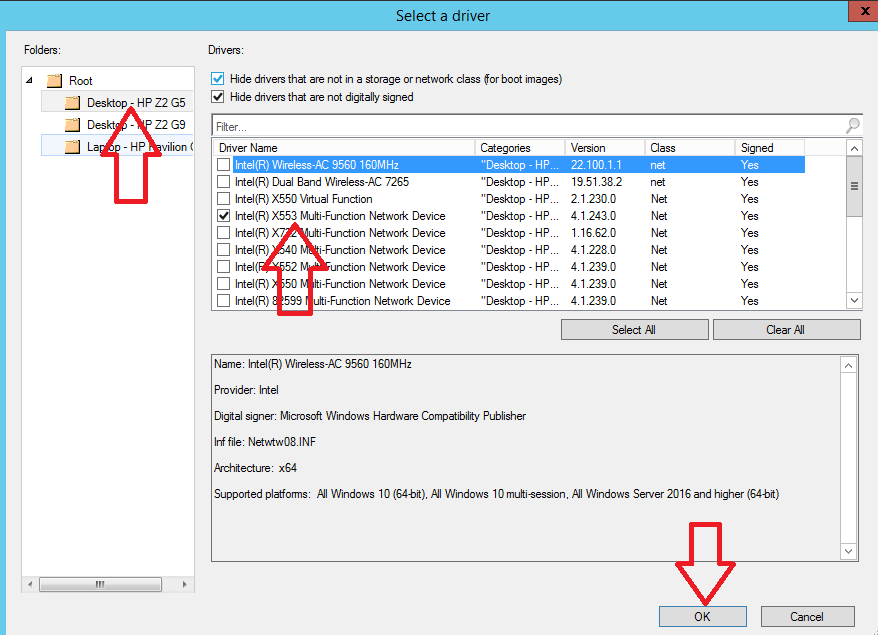
- On the left hand side click on the required folder, then in the main window only select the network or hard-drive driver you need.

- Click Ok
- Click Ok
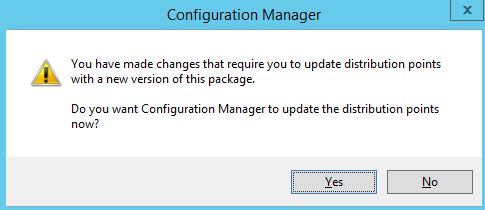
- You will get a warning that the boot image needs to be re-distributed to the distribution points, Click Yes

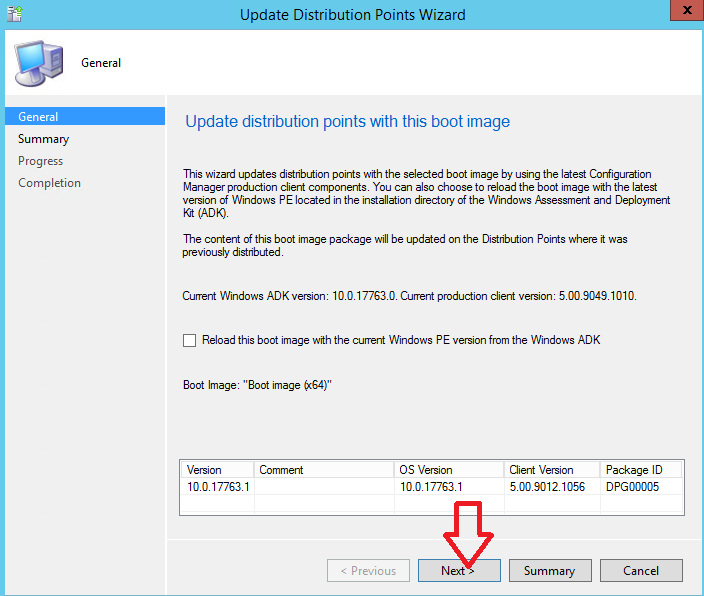
- On the update distribution points wizard click next

- Click next
- The drivers will now be injected in to the boot image and will be
- Click close