
If you are looking to configure and deploy operating systems in SCCM? If yes you will need to install and configure microsoft windows ADK kit.
The Microsoft windows assessment and deployment kit is used to configure and deploy operating systems.
Windows ADK Features
The windows ADK kit will enable the following features for you when it is installed on your server. (Note you can install ADK on SCCM and WDS servers)
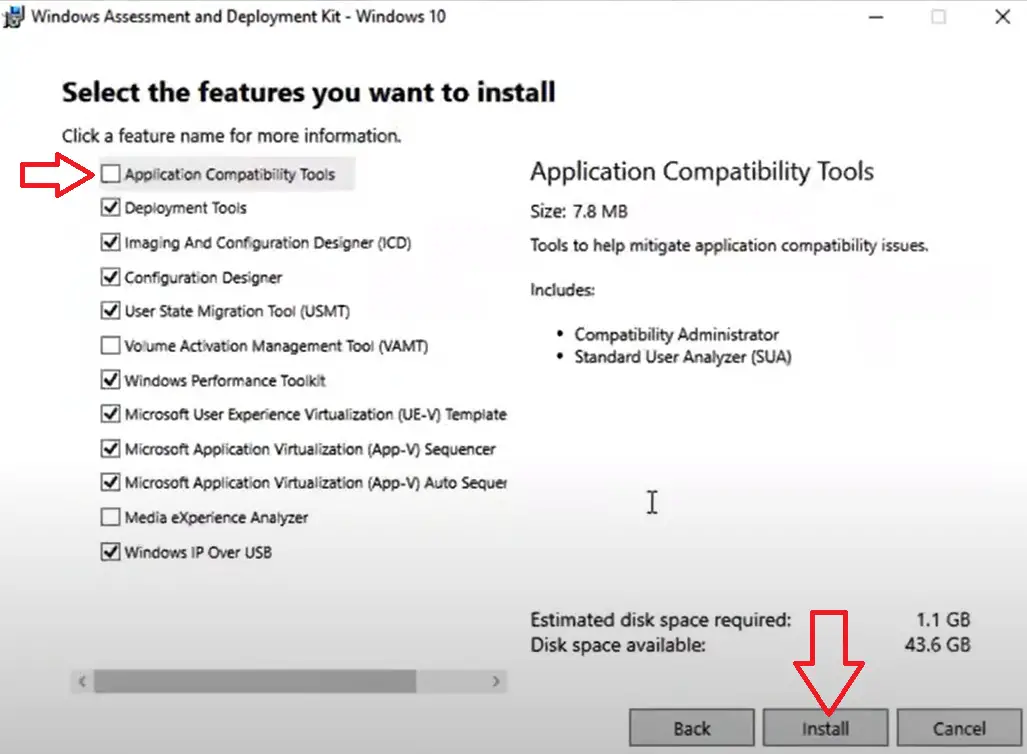
- Application Compatibility Tools : Tool to help mitigate application compatibility issues.
- Deployment Tools : Image servicing and management DISM tool
- Imaging And Configuration Designer : Streamline image customizations
- Configuration Designer : Enables customizations in to bulk to existing images
- User State Migration Tool : Used to migrate user data from one windows install to a new install
- Volume Activation Management Tool : Automates activation of windows operating systems
- Windows Performance Toolkit : Records logged events and analyze performance data
- Windows PE : Is a cut down operating system used to install and deploy operating systems
How To Install Microsoft Windows ADK
To install microsoft windows ADK follow these steps

Step 1 : Uninstall Existing Version
If you already have a version of ADK installed you will need to uninstall it first. To uninstall it follow these steps
- Click Start Menu
- Select Control Panel
- Select Uninstall a program
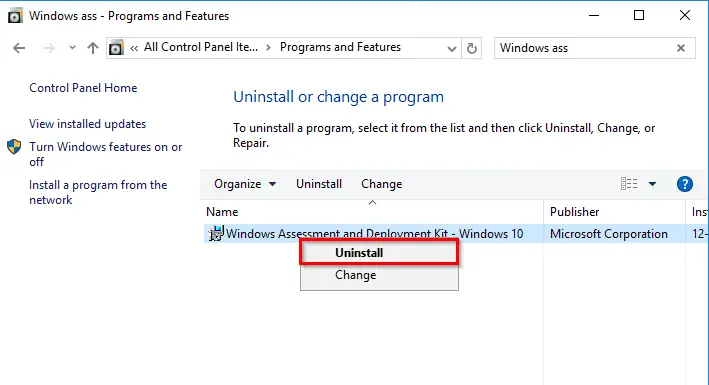
- Highlight “Windows Assessment and Deployment Kit” and select uninstall
- If exists also highlight “Windows Assessment and Deployment Kit Windows Preinstallation Environment add-ons” and select uninstall
- If prompted “Are you sure you want to uninstall” click Yes
- Restart your machine
Step 2 : Download Windows ADK
I recommend that you download and install the latest version of microsoft windows ADK, this will save you time and hassle in the future if you decide you need to update the version to the latest version.
Some people recommend that you download the ADK kit that is for your exact version of windows, I prefer not to do this as the latest version is backwards compatible and will include the latest fixes for all versions of windows. If you want to review which version is right for you check out this link.
To download Windows ADK follow these steps
- Go to this site click here
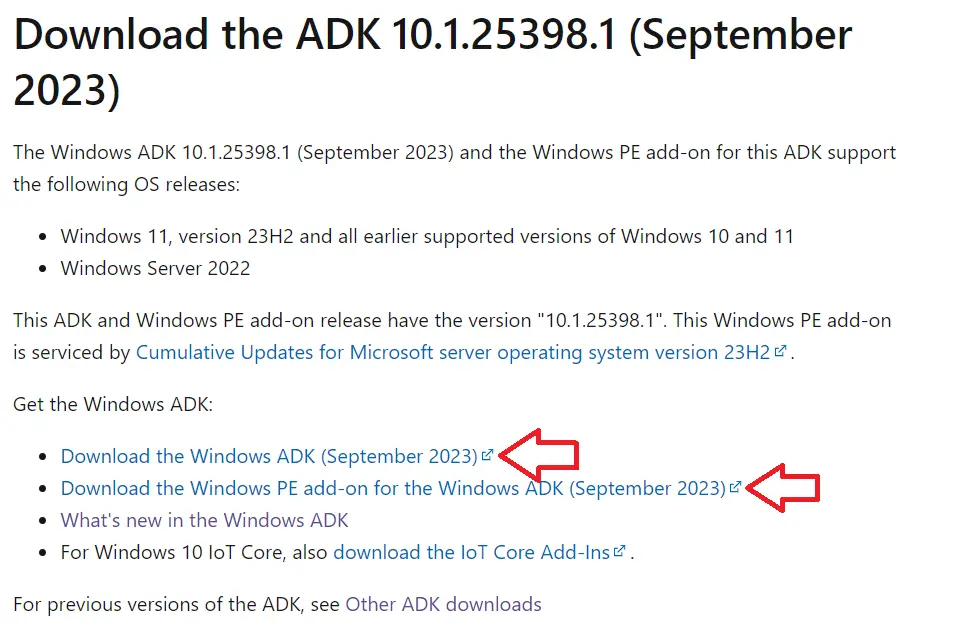
- Under in this article click on “Download the ADK”
- This link will take you down the page
- Now download the “Windows ADK” and also the “Windows PE add-on”
- Two files should now be downloaded, adkwinpesetup.exe and adksetup.exe

Step 3 : Install Microsoft Windows ADK
Now we are going to install the microsoft windows ADK kit.
- Log on to your SCCM or WDS server as an administrator
- Double click on adksetup.exe
- On the specify location window I recommend to leave the path at the default location, if you want to change it click browse and select the location you want to install to.
- Click next

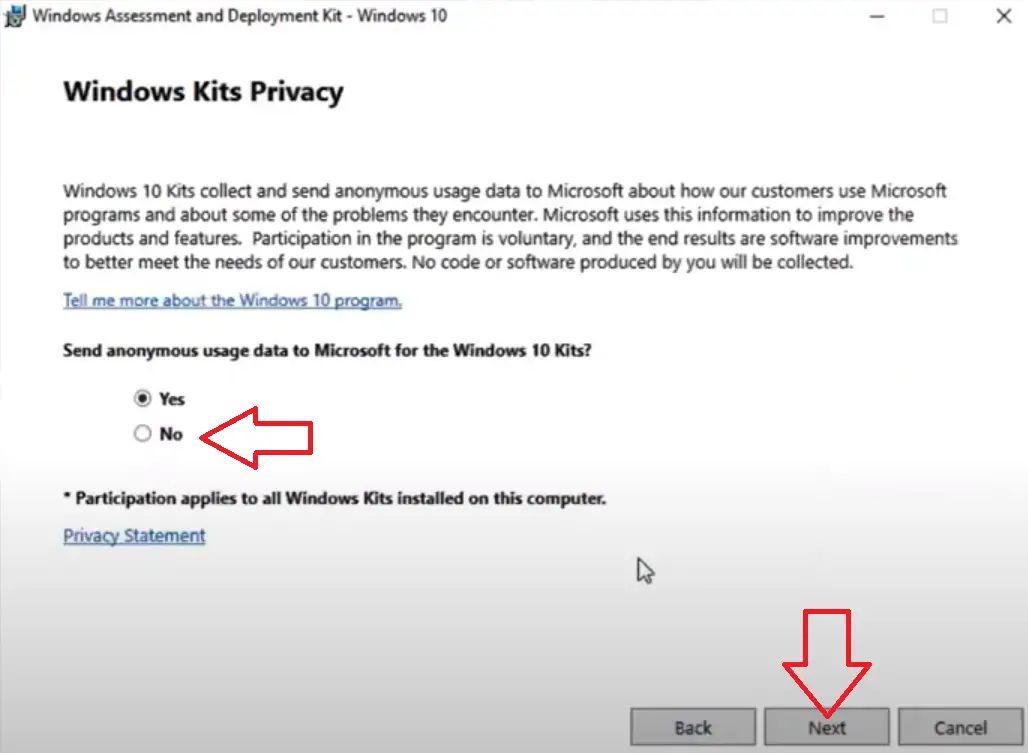
- For send anonymous usage data I always select no, but it doesn’t really matter what you select here.
- Click next

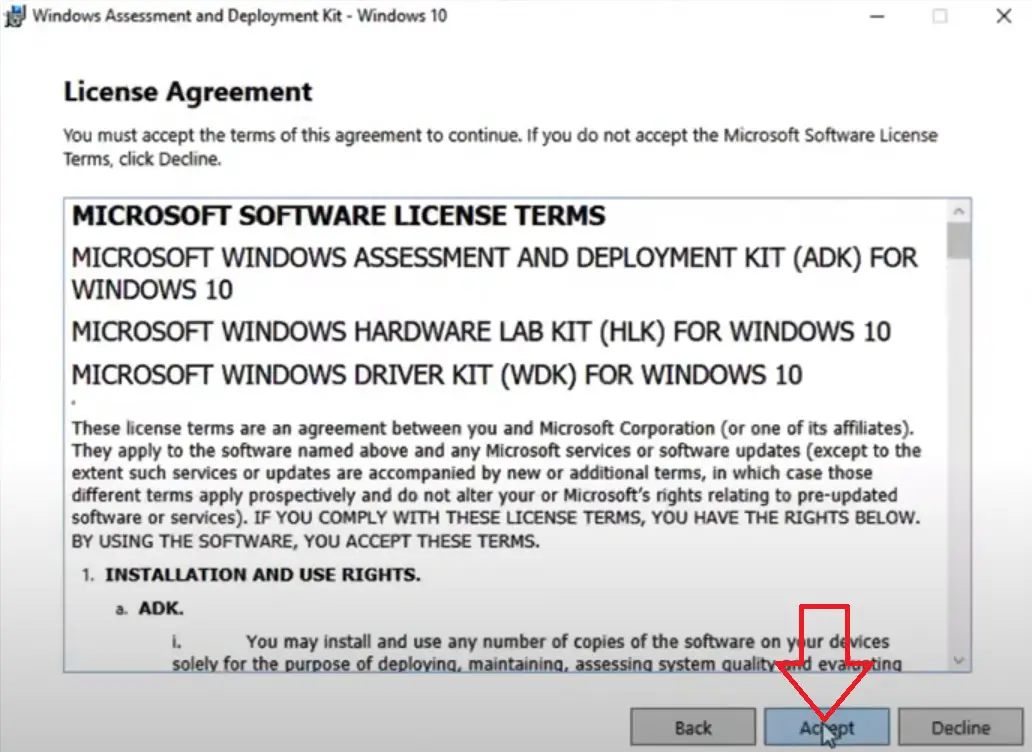
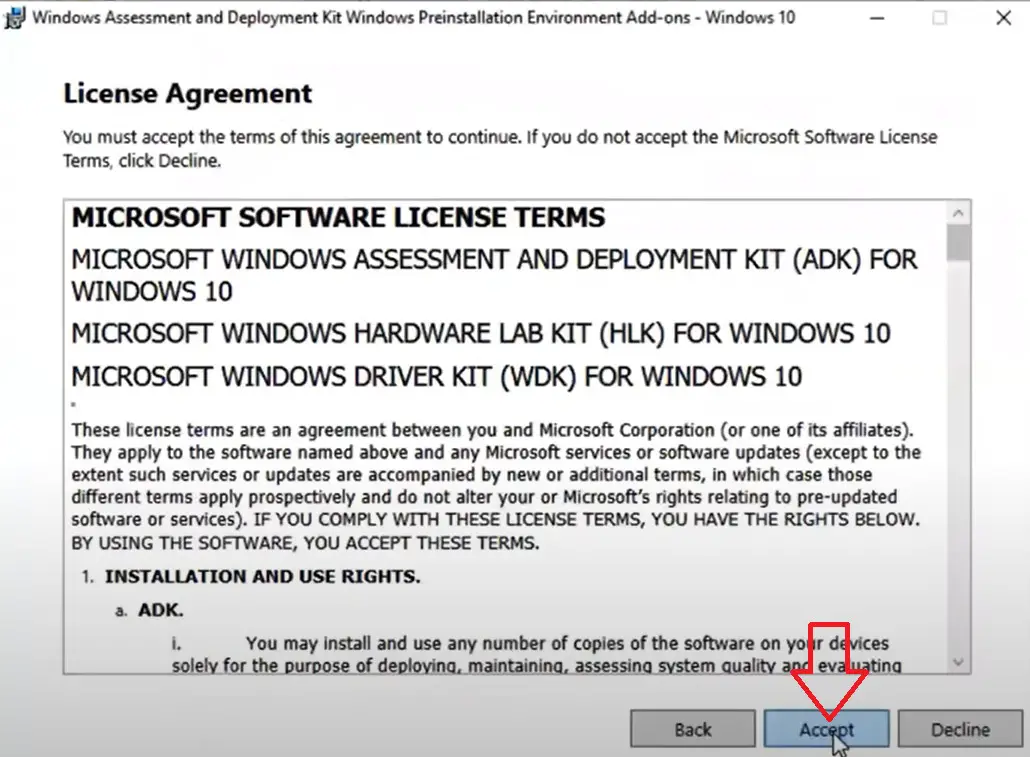
- Click Accept to accept the license agreement

- Tick the box next to all the features you want to install. If you are unsure what features you need then check out the information here about each feature

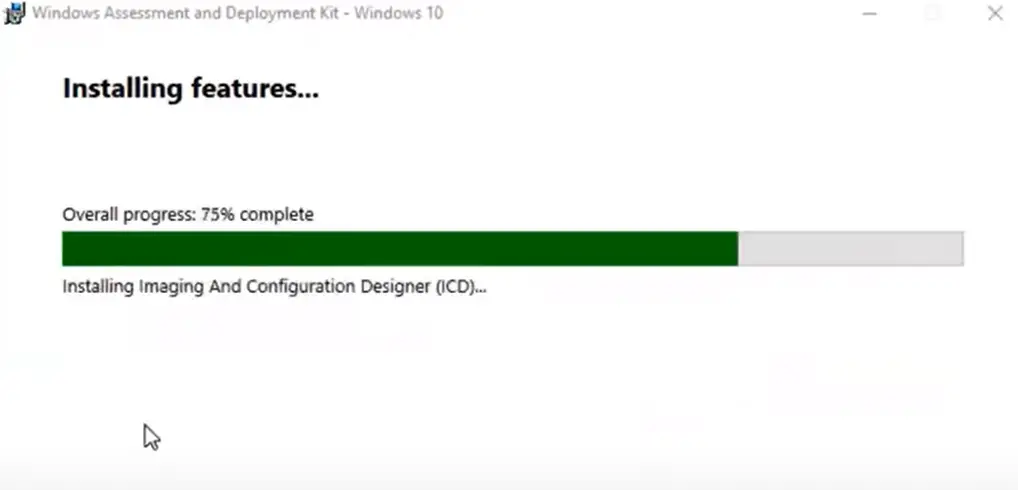
- Click install

- Click close to finish the install of the windows ADK kit.

Step 4 : Install Windows Preinstallation Environment add-on
Next we need to install the windows preinstallation environment add-on, Also known as WinPE.
To install this add-on follow these steps.
- Log on to the SCCM server
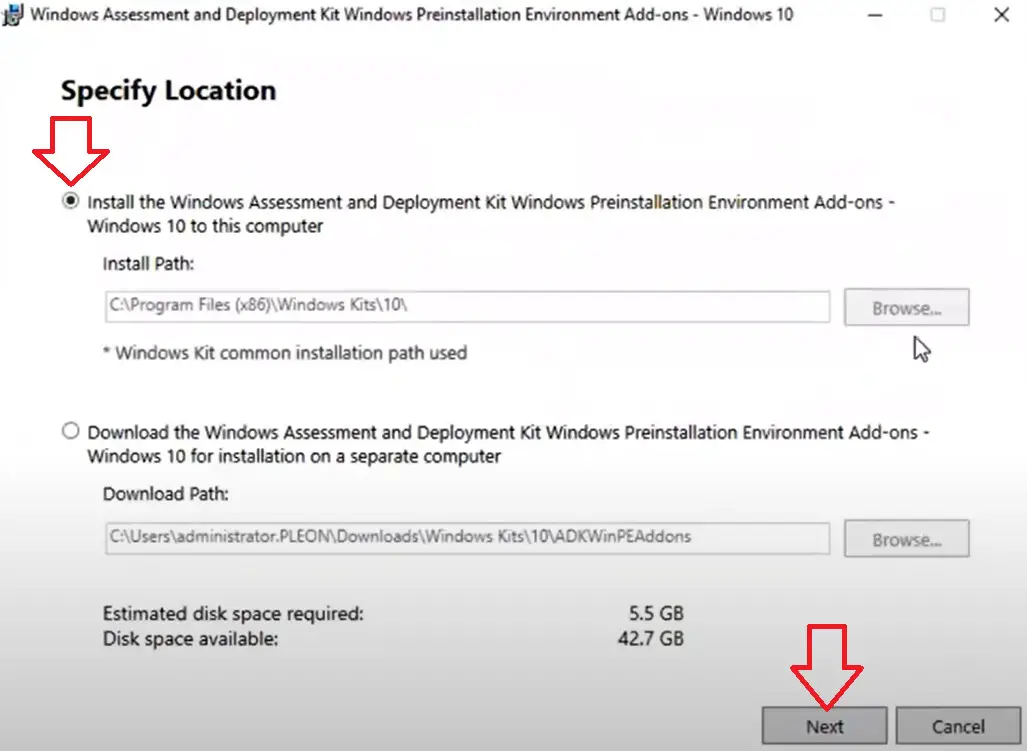
- Double click on adkwinpesetup.exe
- Make sure Install is selected
- Click next

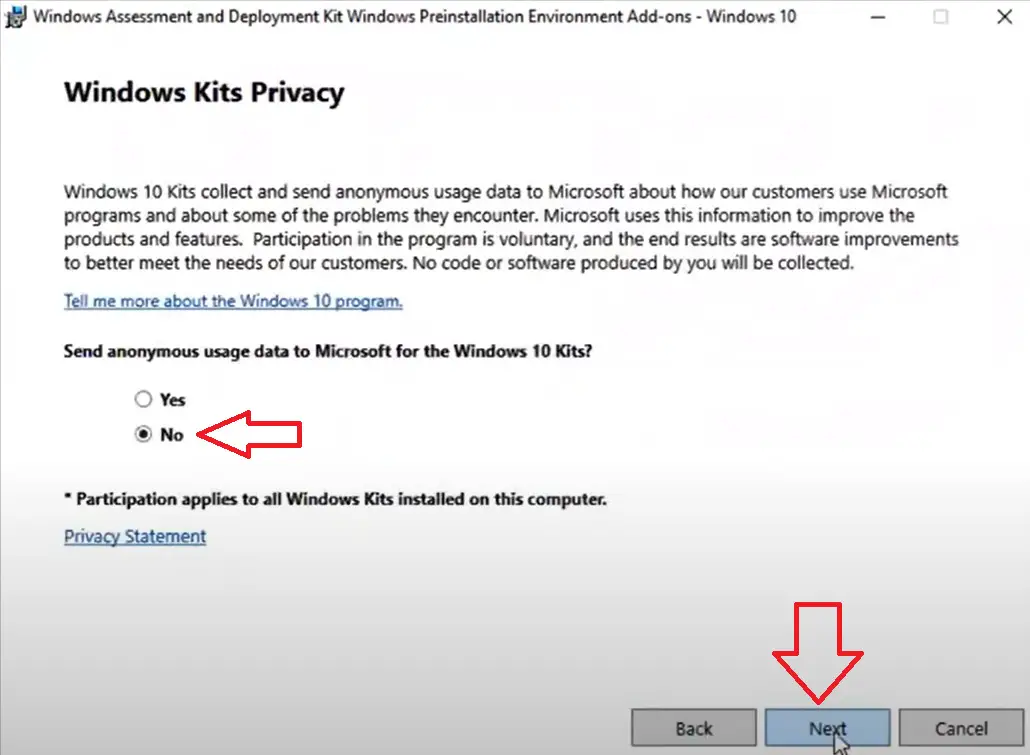
- On the windows kits privacy select No
- Click Next

- On the license agreement page click Accept

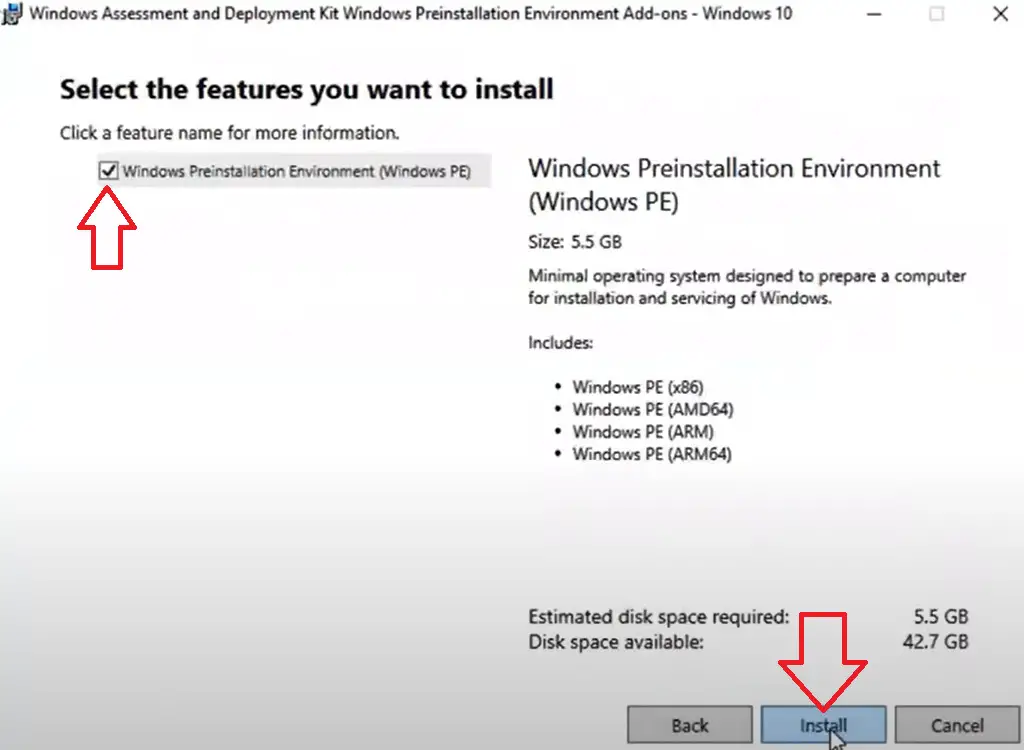
- Make sure “Windows Preinstallation Environment (Windows PE)” is selected
- Click Install

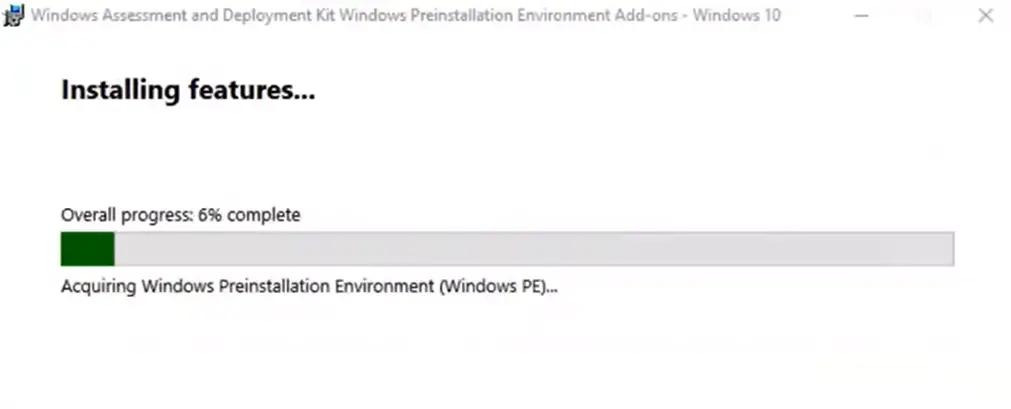
- Windows Preinstallation Environment will now install

- Click close to finish the install
Step 5 : Update Boot Image To All Distribution Points
Now it is very important to update the boot images with the windows ADK version that we have just installed.
If there is a mismatch of versions with the ADK version installed on the server and the ADK version in the boot image you will get issues such as booting in to WinPE and Drivers Tab Missing
To update the boot image on all distribution points follow these steps
- Open the SCCM console
- Go to \Software Library\Overview\Operating Systems\Boot Images
- Right click on the required boot image and select “Update Distribution Points”
- Make sure to tick “Reload this boot image with the current Windows PE version from the Windows ADK“
- Follow the prompts
Frequently Asked Questions
How do I know if Windows ADK is installed?
The easiest way to know if windows ADK is installed is to look in programs. To this this follow these steps.
- Click Start Menu
- Select Control Panel
- Select Uninstall a program
- If you see “Windows Assessment and Deployment Kit” or “Windows Assessment and Deployment Kit Windows Preinstallation Environment add-ons” then ADK is installed
Can you install Windows 11 ADK on Windows 10?
Yes you can. Windows 11 ADK is also backwards compatible and supports windows 10 operating system deployment.
Why Is The Drivers Tab Missing From Boot Image?
This is because there is a mismatch with the version of windows ADK installed on the server and the ADK version that has been injected in to the boot image. To fix this you need to update the boot image, For a guide on how to do this take a look here